Managing Users
In this topic:
- Login Options
- Adding users via a spreadsheet
- Adding users via the Users tool
- Role management
- Creating new Roles
- Linking Users to multiple schools
Login Options
4Matrix Cloud provides options for both Single Sign-on (SSO) and built-in accounts.
- 4Matrix Cloud offers seamless Single sign-on (SSO) integration, enabling users to authenticate securely and conveniently using their Microsoft or Google credentials.
- The built-in account option allows users to access the platform with their email address, and a password that is exclusively associated with their 4Matrix account.
By design, all new users are prompted via email to validate their account and supply a password. This process provides every user with a built-in 4Matrix account, even if the school intends to use SSO. This can't currently be avoided.
Before completing new user setup, it is important to review the Roles that are available in the system and create new roles, as required. Please refer to the Roles section, later in this topic.
Adding users via a spreadsheet
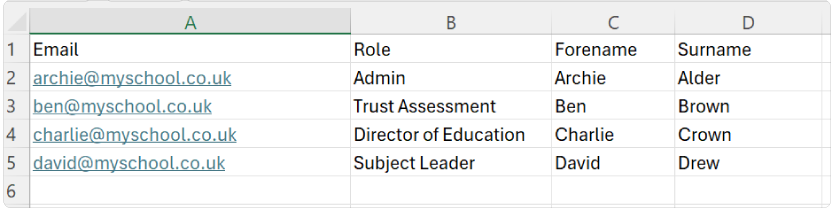
You can import users 'in-bulk' via a spreadsheet import. Your spreadsheet must contain the following column headings:
- Role
- Forename
- Surname
- Once your spreadsheet is compiled save and close it, and go to Admin > Import Data.
- Drag and drop your spreadsheet into the area into the import box.
- We recommend leaving the options set to the default settings. Click Next.
- All mapping should take place automatically. The only intervention required is in the final step of the import, where new users are flagged as 'Unknown'.
- Either cherry-pick or select all users and choose 'Mark as new user'.
- Click Next to complete the import.
- All new users will now receive an account activation email. The activation link will expire after 24 hours, but can be re-sent via the Users tool if required at a later date.
- If you are using SSO, once an account is activated, the user can select Microsoft or Google on the 4Matrix Cloud login screen.
- A prompt for 2-Factor Authentication (2FA) will appear if your school/MAT requires this.
If a list of users is imported and a Role that you have specified does not already exist in 4Matrix, the Role will be created without any permissions assigned to it. Refer to the Roles section, below, for more information.
Adding users via the Users tool
Admin users can view and manage users in the Admin > Users tool.
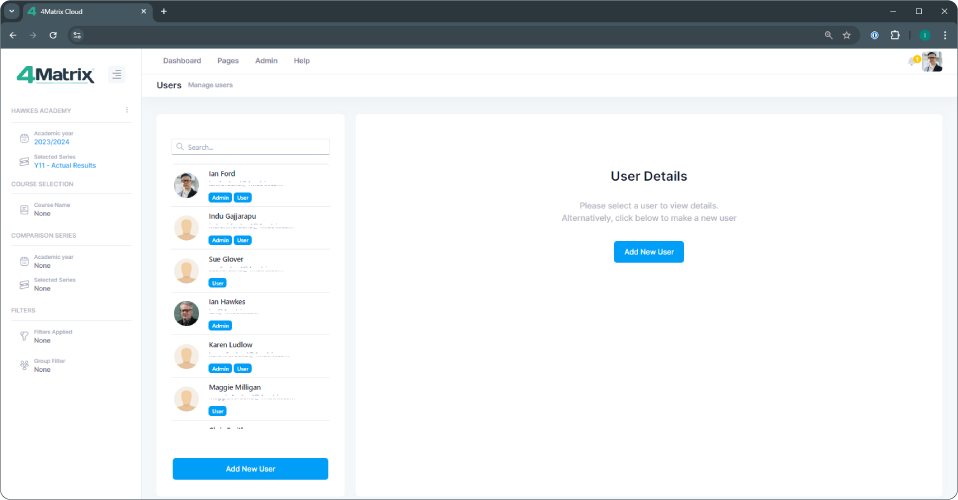
- Select the Add New User option.
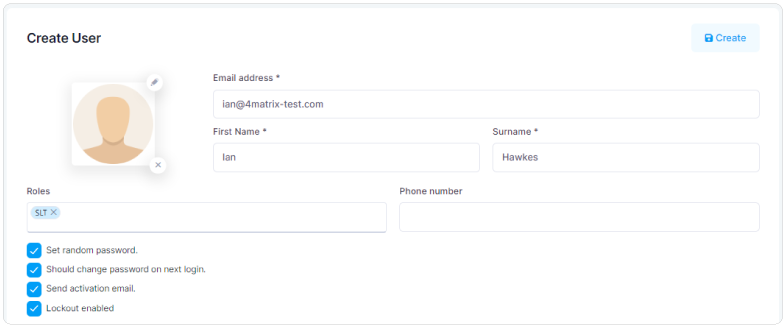
- Provide all details (phone number is not required), and leave all check-boxes enabled for the activation email and password settings.
- From the Roles menu, select the role the user should be assigned to. It is possible to select more than 1 role, if required, in which case the permissions from selected roles are amalgamated.
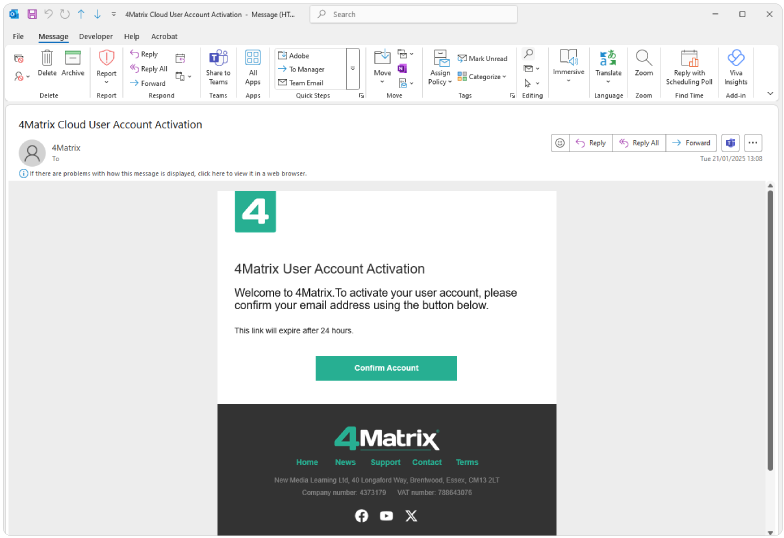
- Each new user will receive an email asking them to confirm their email address. The link contained within the user activation email expires after 24 hours. Following the 'confirm account' link will prompt the user to set a password for their new account, after which they can login.
Role management
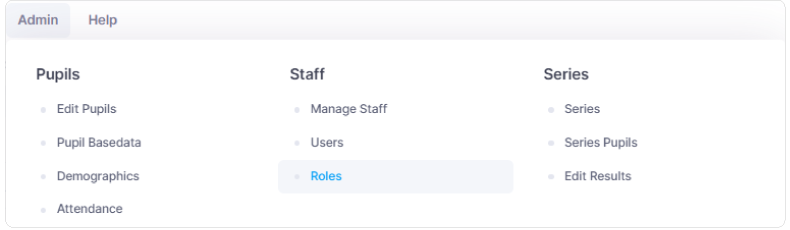
All roles and user permissions can be managed in the Roles tool, accessed via the Admin menu:
The 2 default roles that 4Matrix Cloud provides for are Admin and User.
- Admin - Has access to all analysis tools in the Pages menu and all data editing tools in the Admin menu.
- User - Has access to all analysis tools in the Pages menu.
These roles cannot be edited or removed, but Admin users can create additional roles if required. Roles are an effective way to enable and disable tools in 4Matrix Cloud for different types of users, e.g. SLT, Subject Leaders and Teachers.
If you are happy that the default roles are all that is required for the users you need to create, you can import a list of users or begin creating users manually, as per the guidance in the first half of this topic.
Creating new Roles
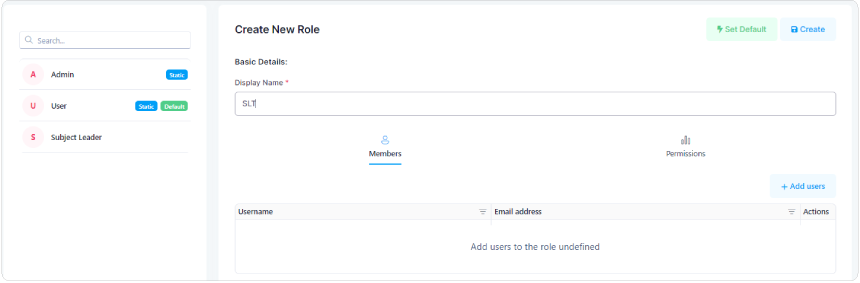
- Select the Add New Role button (one is located at the bottom of the left panel and one is located in the middle of the screen).
- Give the new role a name. In the example below, we have set the name to SLT.
- Select the Permissions tab. Cherry-pick the tools that this role will have access to. In our example, we are selecting all 'performance' tools i.e. no tools from the Admin menu, and no subject-specific tools. Each level can be expanded, so that individual tools can be toggled on and off.
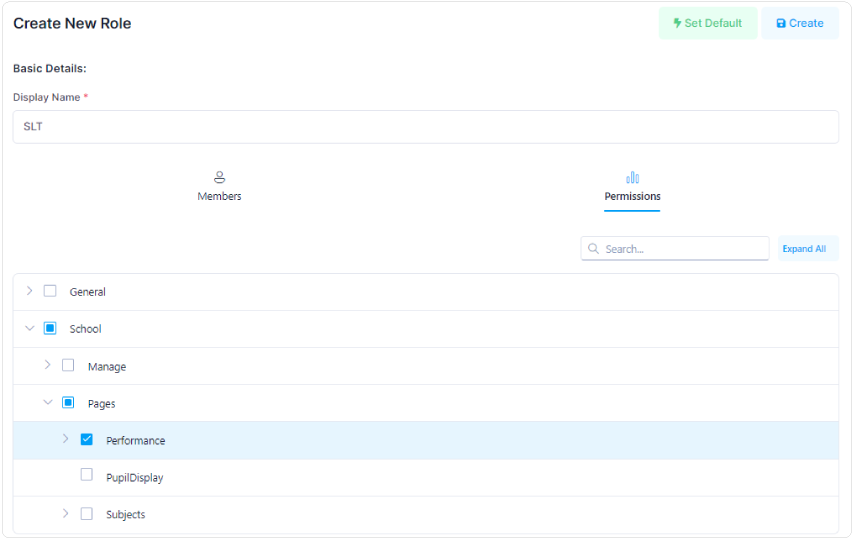
- Once complete, select the Create option in the top-right. The new role is now ready to use.
- Repeat the process to add any additional roles that are required.
If a list of users is imported with a role that does not already exist in 4Matrix, the role will be created without any permissions assigned to it. Refer to Step 3, above, for information on accessing the Permissions tab to set these retrospectively.
Linking Users to multiple schools
4Matrix Cloud includes a feature to switch between a user's linked schools at the click of a button.
If you are a Multi Academy Trust Data Leader, Education Director, or a member of staff that oversees the performance data management of multiple schools, you can utilise this feature.
- Each user has a single login for 4Matrix Cloud, using their email address.
- To link a user account to additional schools, the main contact at the required school(s) will need to add the user via the Users tool.
- Select Add New User and enter the email address of the user that requires access.
- The 4Matrix Cloud system will detect if the email address already exists. If the user has an account against one or more schools, the dialogue states that the email is already registered and it will be linked to the school account:
- On clicking Create, the user will receive an email notification informing them that they have been linked to a new school.
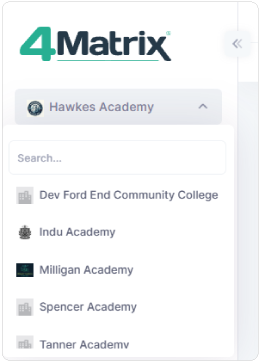
- The next time the user logs in, they will have the option to switch between their linked schools using the School Name field in the top-left of the screen:
- First published: 21/08/2025
- Last revised: 21/08/2025